Efficiency & Art
Guide to Recording Preparation
Reading time: Approx. 4 min
Studio time is a precious intersection where an artist's creativity meets an engineer's technical precision. However, starting a session without adequate preparation often leads to wasted hours spent on gear configuration or debating song structures, leaving less time for the actual performance. At Maravediflow in Yokohama, we encourage all our clients to prepare thoroughly to ensure every minute of the session is spent capturing the perfect take.
This guide is specifically designed for those planning vocal recording sessions. By establishing an efficient workflow before you step through our doors, you reduce mental stress and create the headspace necessary for deep emotional expression and technical accuracy.
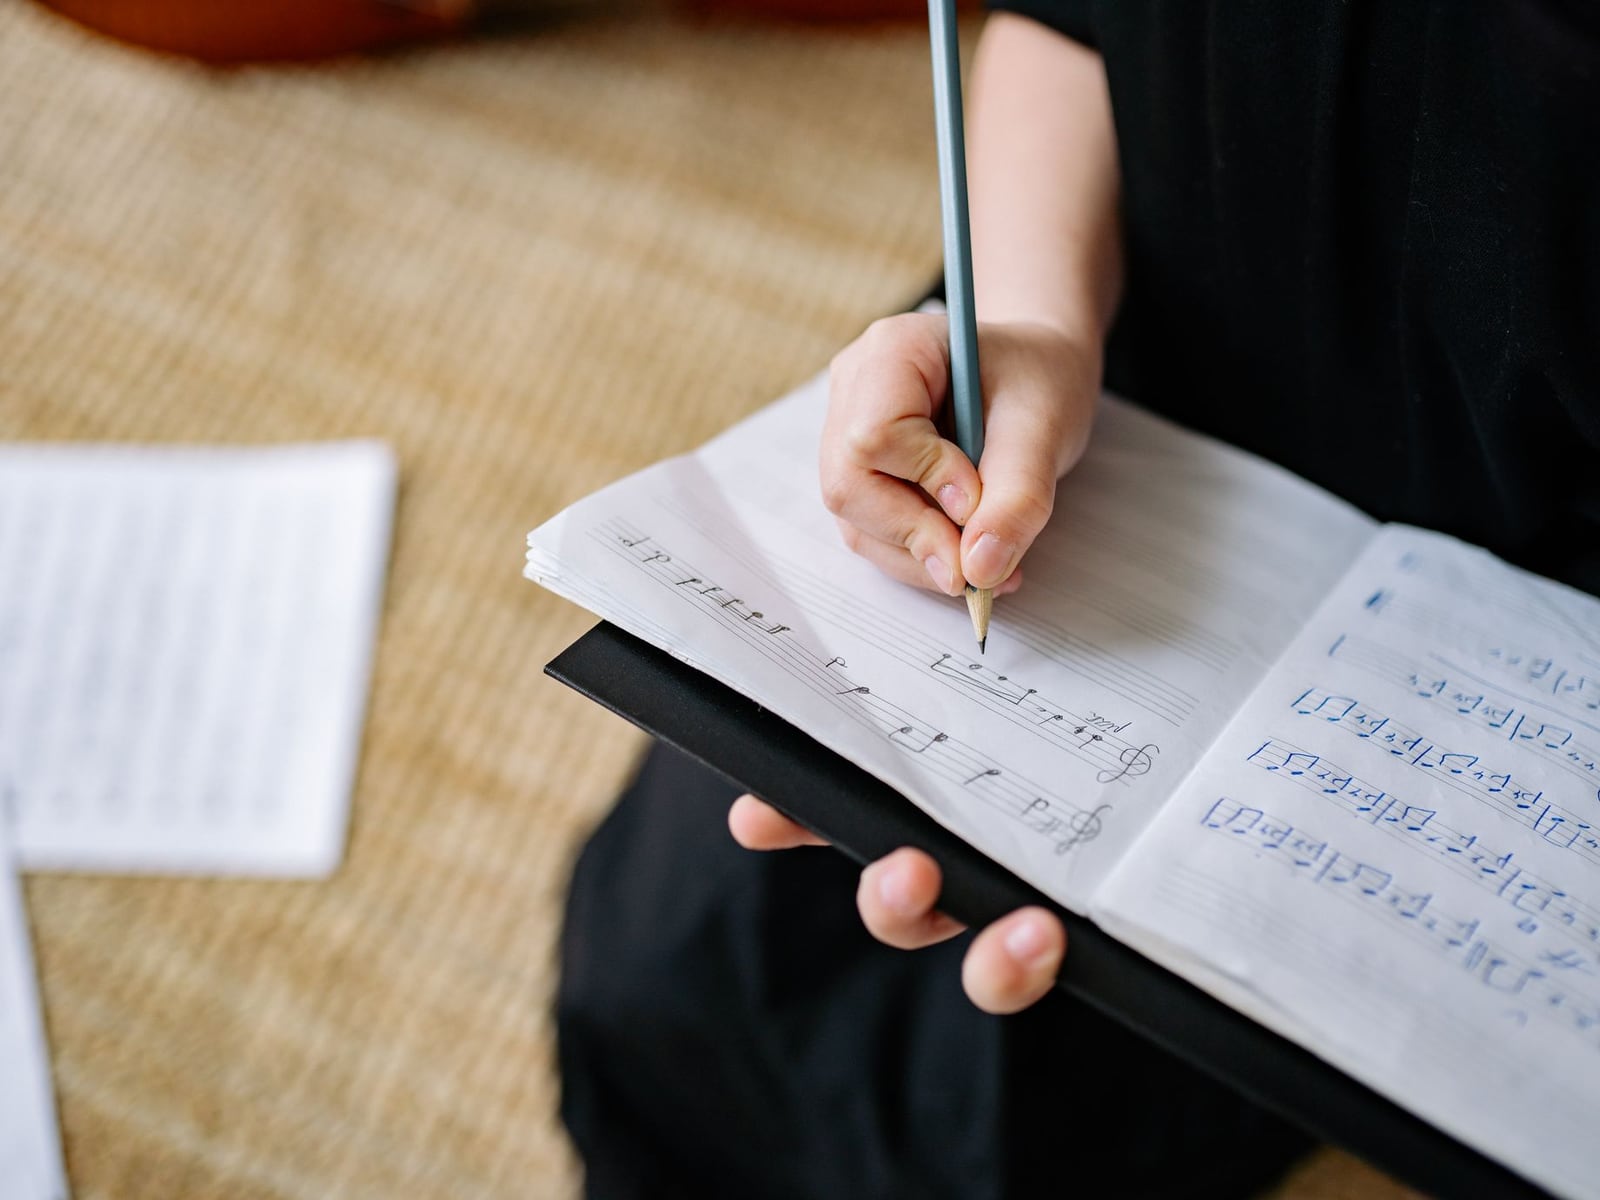
1. Finalizing Song Structure and Rehearsal
Deciding whether to modulate a key or how to enter a chorus on the day of recording can stall a session's momentum. We recommend creating a demo tape and freezing the arrangement completely before arrival. It is crucial to know the exact number of bars for each section—verse, pre-chorus, and chorus.
During your rehearsals, focus not only on the notes but on the "dynamics" (volume and intensity). By designing the contrast between intimate, quiet passages and powerful, emotional peaks, you allow our engineers to set the microphone gain and compression levels accurately, preventing clipping or excessive noise.
2. Organizing Lyrics and Formatting
While tablets are common, we suggest bringing lyrics printed on paper. This prevents eye strain from screen backlighting and allows you to scribble emotional cues or structural notes directly on the page. Ensure your lyrics are secured with clips or in a folder so they don't slip off the music stand during a high-energy take.
If you have multiple versions of a song, double-check that you are bringing the most recent edit. Discovering a lyric change after the recording is finished often necessitates a re-recording, which may result in additional studio costs beyond your initial booking.
3. Health Management and Vocal Care
Your performance depends heavily on your physical state in the 24 hours leading up to the session. Yokohama's coastal location can bring sudden changes in humidity and temperature; keep your throat hydrated to avoid dryness. Prioritize deep sleep and consistent water intake.
We recommend warming up your voice shortly before entering the studio. Avoid extreme temperatures—such as ice-cold drinks—and stick to room-temperature water or warm herbal teas. To combat tension-induced shallow breathing, a few minutes of light stretching can help relax your diaphragm and shoulders.
4. Essential Gear Checklist
To ensure a seamless start, please prepare the following items. Avoiding forgotten materials prevents unnecessary downtime during your paid session.
| Item | Purpose & Detail | Priority |
|---|---|---|
| Printed Lyrics | Structure confirmation and note-taking | Essential |
| Demo Tracks (WAV/MP3) | For engineer reference (via USB/Cloud) | Essential |
| Room-temp Water | Vocal hydration | Recommended |
| Small Towel | For perspiration or cleaning | Recommended |
| Personal Headphones | Secondary monitoring preference | Optional |
5. Backing Track Formats and Delivery
Please provide backing tracks (instrumentals) in high-quality WAV format (minimum 44.1kHz/24-bit). Compressed formats like MP3 can reveal sonic limitations during the mixing stage, potentially affecting the overall professional polish of the final master.
If possible, providing "stems" (separate files for drums, bass, etc.) allows us to optimize the monitor balance in your headphones. This creates a more comfortable singing environment. You may share these via cloud storage before the session or bring them on a USB drive.
6. Studio Time Management and Rules
At Maravediflow, sessions begin exactly at the reserved time. If you require time for wardrobe changes or specific gear checks, please book an extra 30 minutes. For instance, a 2-hour booking used for 30 minutes of setup leaves only 90 minutes for actual recording.
Per our studio policy, clients under the age of 16 must be accompanied by a guardian. While we archive session data for 12 months, we strongly advise maintaining your own backups. For full details on our policies, please refer to our Terms.
7. Post-Recording Workflow and Mixing
Once recording is complete, you will work with the engineer to select the "best takes." We encourage you to trust the engineer's objective perspective on pitch and timing. The selected takes then move to the Mixing & Mastering phase.
During mixing, you are entitled to up to 3 rounds of revisions. Sharing your sonic vision during the recording—such as wanting a "dry, intimate feel" or a "lush, ethereal reverb"—will make the subsequent engineering process significantly smoother.
Summary and Next Steps
Thorough preparation is not just about efficiency; it is a ritual that allows an artist to unlock their highest potential. When the logistics are settled, you can immerse yourself entirely in the creative process from the moment you enter the booth.
If you are currently planning your finances for an upcoming project, please read our guide on How to Budget Your Session. For specific booking inquiries or to view our Vocal Recording plans, please visit the service page or reach out via our Contact form.